I love being married to the love of my life! I’ve been busy getting settled in to my new home, so I haven’t posted much as you probably noticed. But once again I will try to start posting more often.
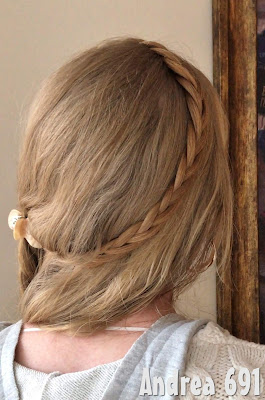
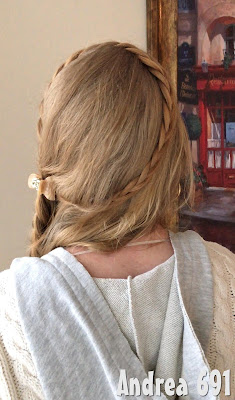
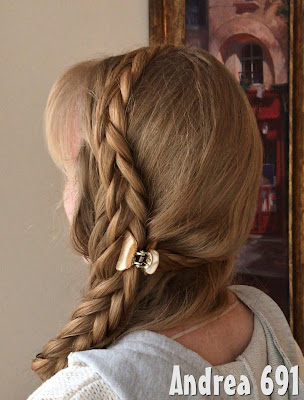
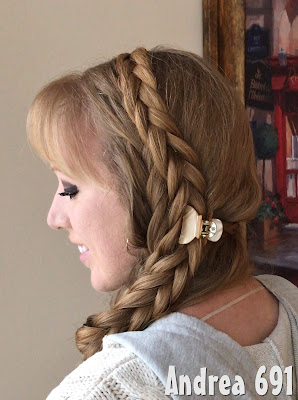
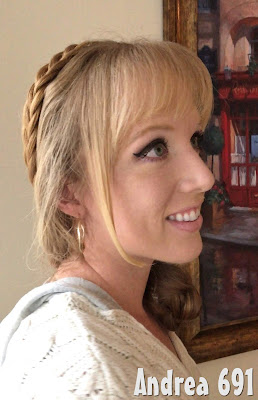
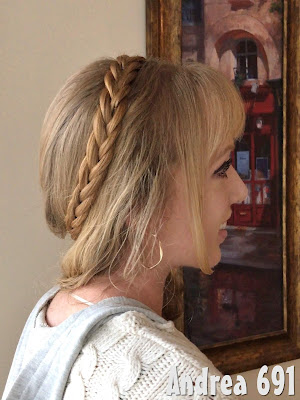
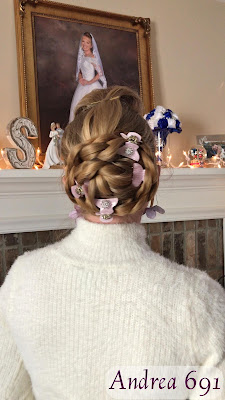
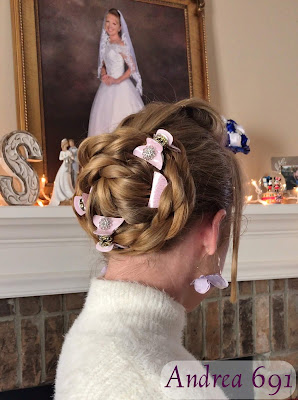
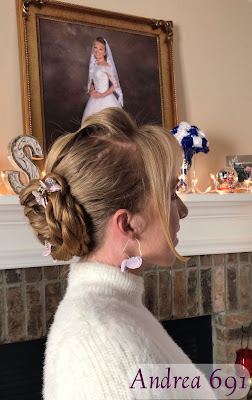
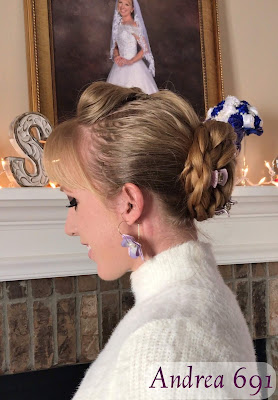
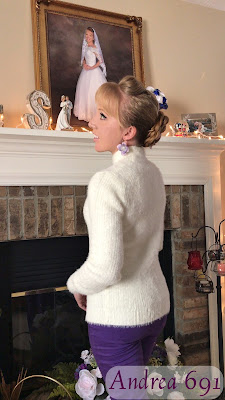
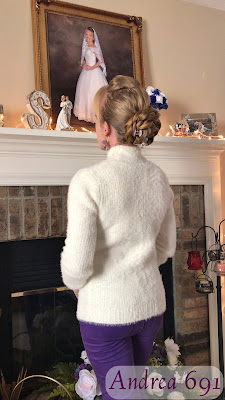
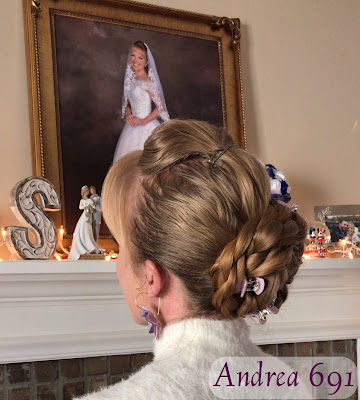
A few days ago I braided my hair in this pretty bun style. My bun is actually two rope braids braided together in another rope braid, so a double rope braid 🙂
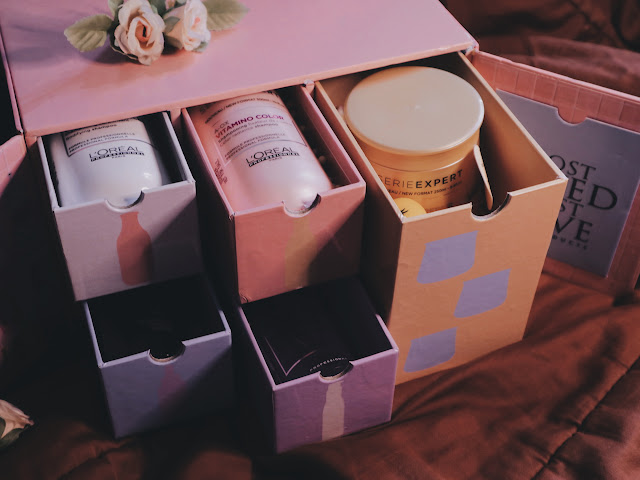
Thank you for coming by to see my pictures! I’m living in the middle of snow right now, so I’ll see how I adjust my hair care to this new climate. So far I’ve been able to stretch out my washes to once a week, and I’m putting monoi oil and coconut oil on the ends of my hair during the week. It helps keep the static down and also keeps my ends hydrated.
See you again later, thank you for visiting my blog!
********
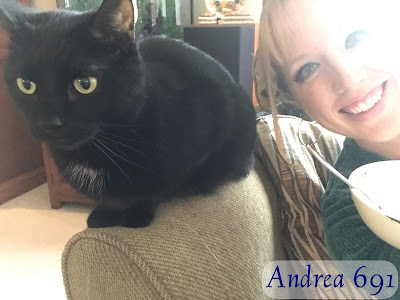 |
| Meet Max, my new buddy |
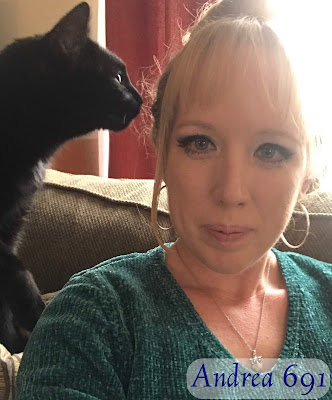 |
| I think he likes me |
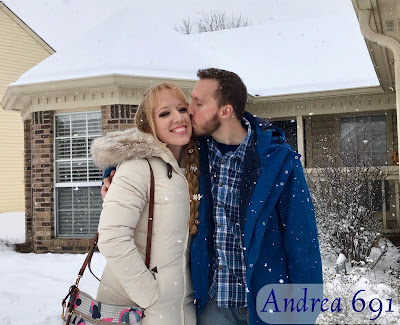 |
| Happy together in a winter wonderland |