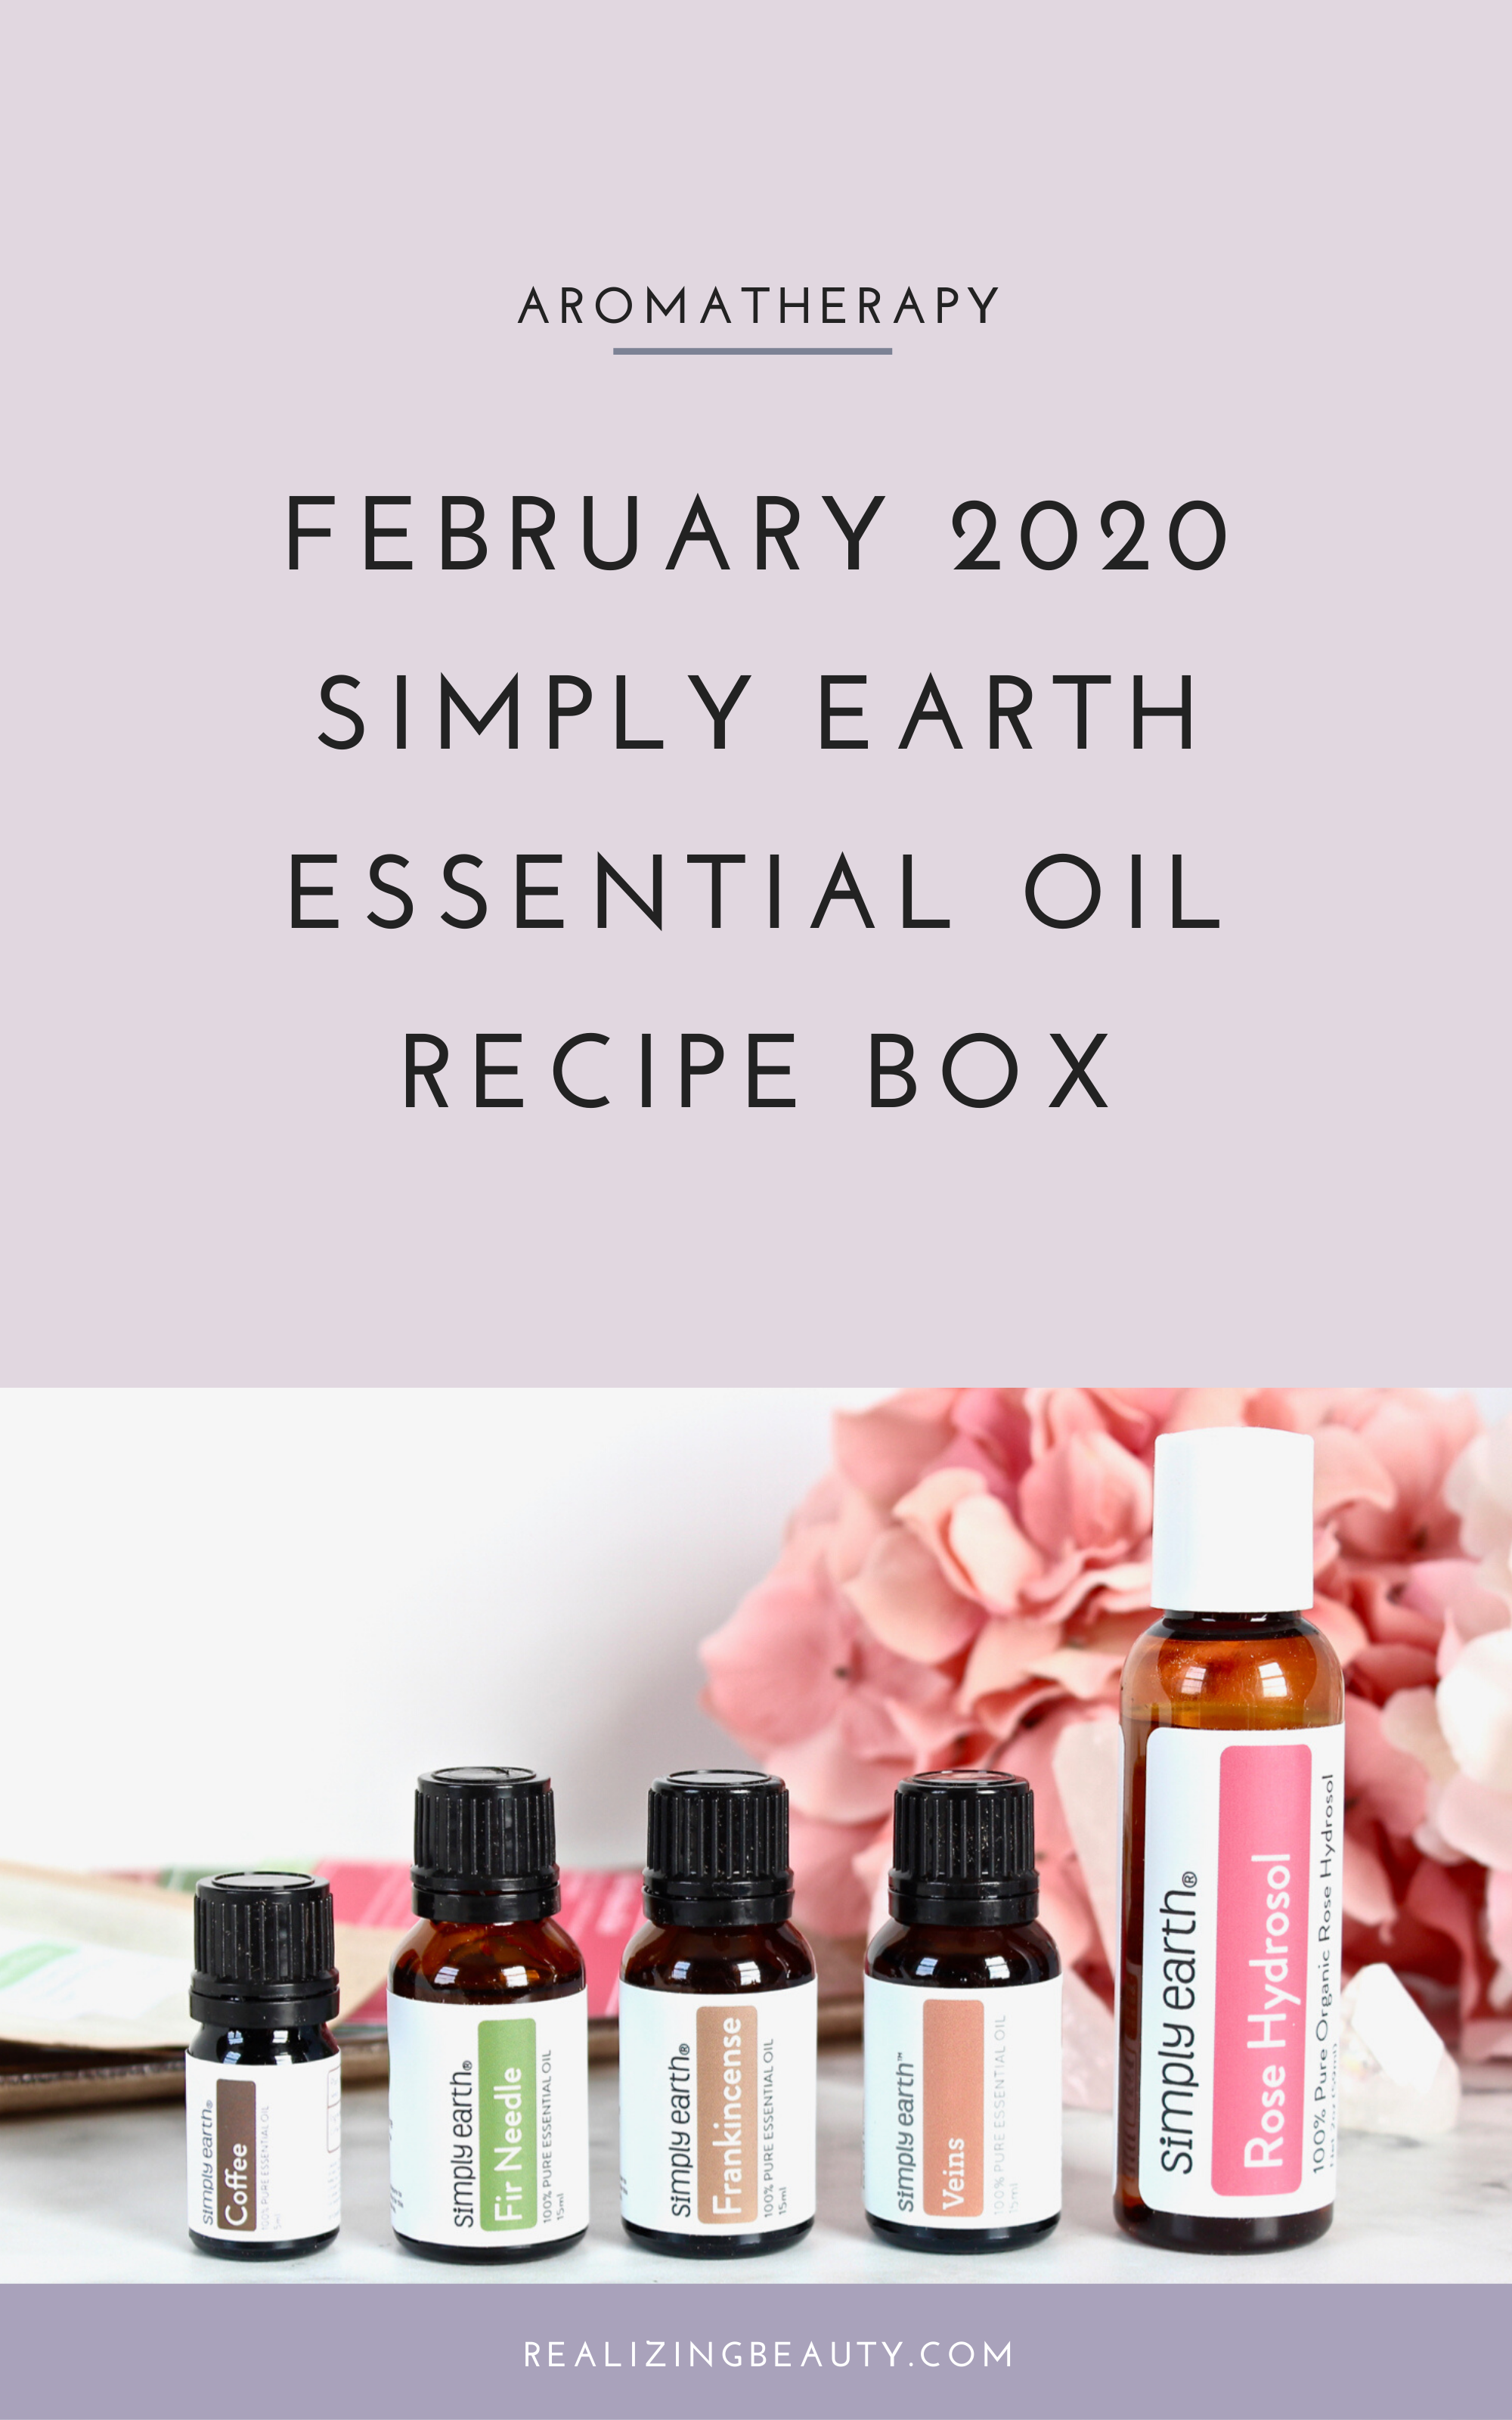
February 2020 Simply Earth Essential Oil Recipe Box
Today I’d love to share with you the February 2020 Simply Earth Essential Oil Recipe Box. I am in love with the assortment of essential oils included in this month’s box.
Included Essential Oils + Accessories
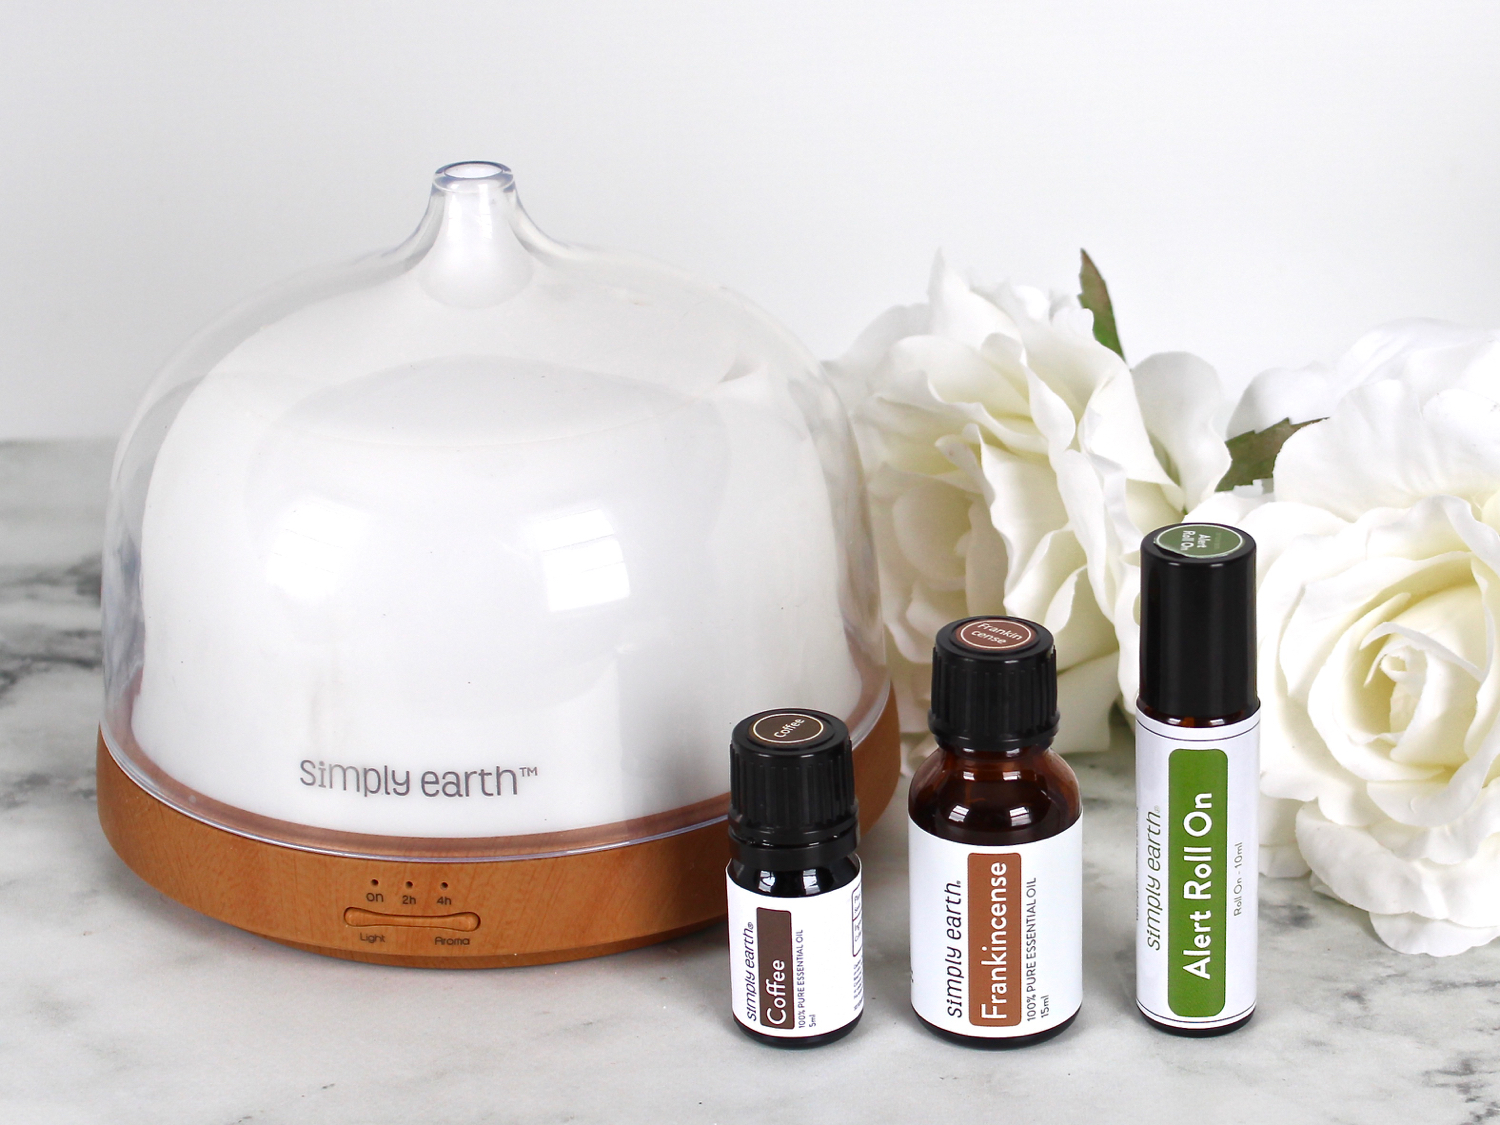
The Simply Earth February 2020 box includes:
- Frankinsence Essential Oil 15 ml- Frankinsence essential oil is an absolute MUST have in my opinion. It has so many skin healing and anti-inflammatory qualities. It is also an incredibly grounding, mind clearing, and spiritual oil.
- Fir Needle Essential Oil 15 ml – Antioxidant, antibacterial, and anti-inflammatory, this oil really packs a punch. And its aroma takes you right to the forest.
- Coffee Essential Oil 10 ml – This essential oil has warming and antioxidant benefits. And of course, it has energizing qualities. Nothing is as invigorating as the smell of coffee. This is my first time using a coffee essential oil and the smell is heavenly!
- Bye-Bye Veins Blend 15 ml – This blend of has a warming effect, improves circulation, and helps reduce the appearance of varicose veins.
- Rose Hydrosol – This month’s box also includes a bottle of Simply Earth’s new Rose Hydrosol. It’s a gentle water based alternative to using Rose Essential Oil and makes a great addition to recipes.
- French Green Clay – Use this french green clay in your recipes to take advantage of its cleansing, skin-healing, skin tightening, and pore shrinking benefits.
Now, this is an essential oil recipe box after all! The recipes included in this box really utilize the French Green Clay and Rose Hydrosol while highlighting the benefits of the essential oils and blend included.
Included Recipes
You’ll find recipes inside for making:
- Rose Hydrosol Bath Salts
- Skin Healing Body Butter
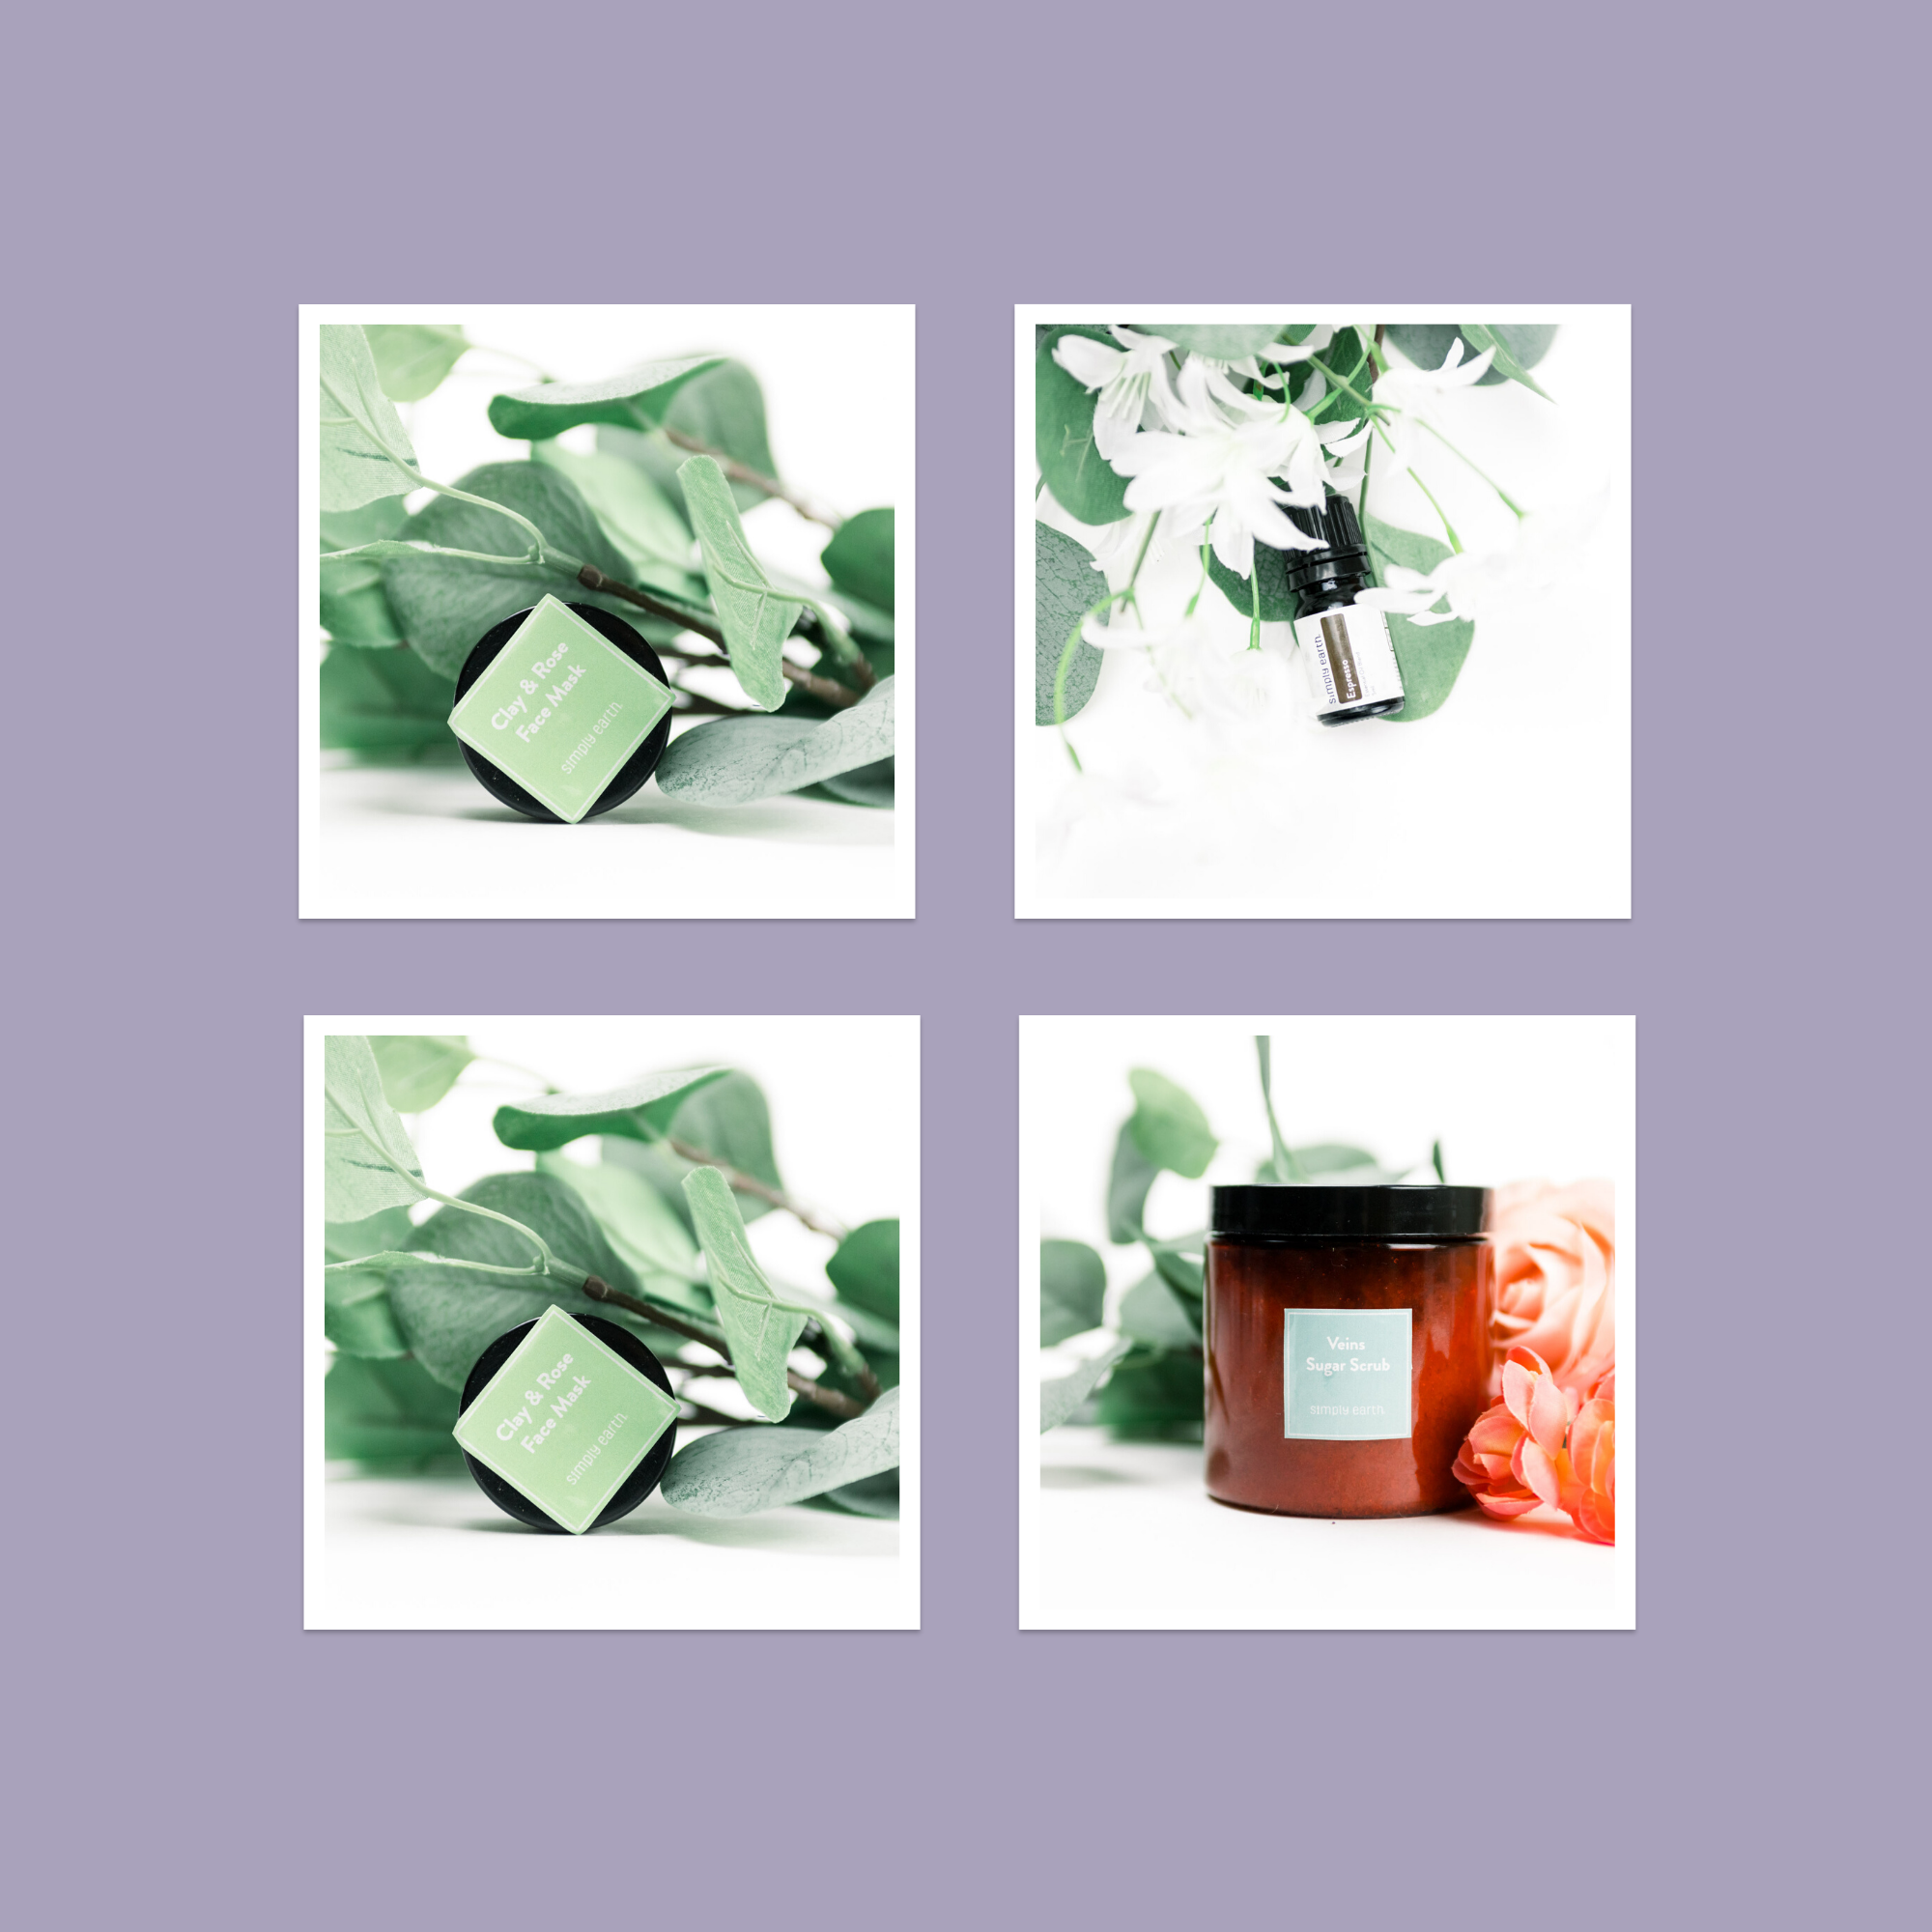
- Veins Sugar Scrub
- Clay & Rose Face Mask
- Alert Roll On
- Espresso Diffuser Blend
I love that this recipe box has everything you need to perk up in the morning and relax and have a soothing home spa experiencing when you’re ready to relieve the stress of your day.
How I’ve Been Using It
I use the Espresso Diffuser Blend recipe in my Simply Earth Diffuser and apply the Alert Roll On in the morning to get me energized and focused for my day.
I can’t wait to use the Clay & Rose Face Mask for a facial along with the Veins Sugar Scrub on my body followed by a soothing soak in the tub with the Rose Hydrosol Bath Salts followed by the Skin Healing Body Butter. I love how well thought out the recipes are in this month’s box to work together for a whole experience.
Why I Love Simply Earth
That’s what I love so much about the Simply Earth Essential Oil Recipe Boxes. Not only are you getting an incredible deal on high quality, therapeutic grade, 100% pure essential oils but you’re also getting the recipes and tools necessary to really start putting your essential oils to good use. Before Simply Earth I didn’t get more adventurous than just putting some oils and blends in my diffuser. Now I’m enjoying making natural and effective products for my family and myself as well as making gifts for friends and family.
Now in case you haven’t heard me rave about Simply Earth before I want to tell you a bit more about their Simply Earth Essential Oil Recipe Box ($39 USD). Each month’s box is a $150 value for only $39! You receive four full size essential oils along with fun extras and recipe cards for creating your own blends, roll-ons, skincare, scrubs, soaks, candles etc., as well as stickers to use as labels for your creations. All of this including free shipping!
Get Yours
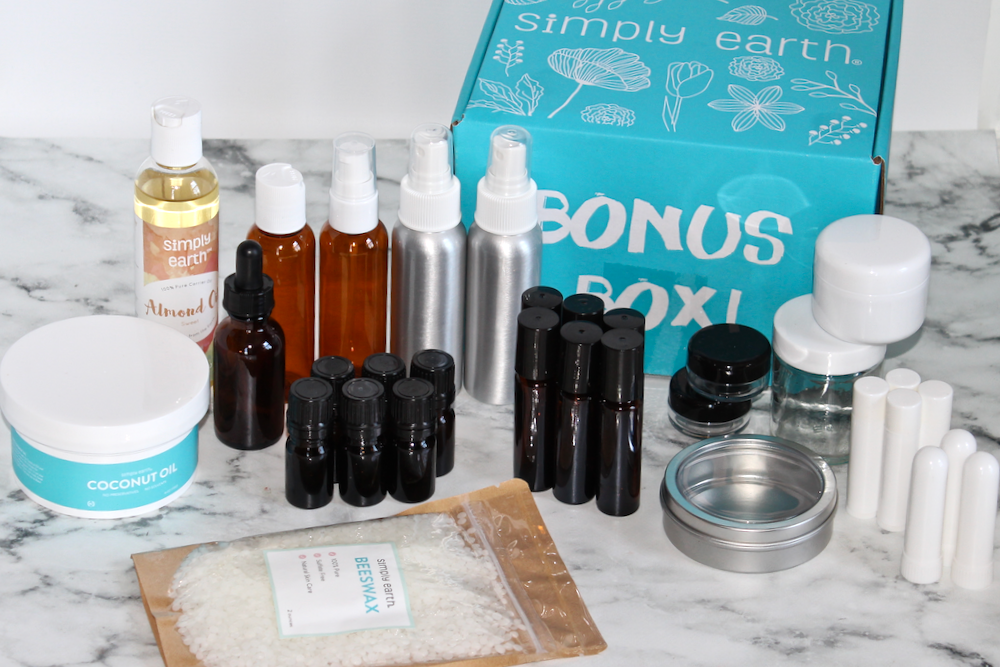
You can find out more about this incredible service in my original Simply Earth Essential Oil Recipe Post here. And that’s not all! With your first box you get a free Big Bonus Box which includes everything you need to make and store all your essential oil creations!
Don’t forget to use code REALIZINGBEAUTYFREE to receive your Big Bonus Box free with your order PLUS a $20 Gift Card that can be used on future purchases (including your next box)! There is no time commitment to subscribe but I know you’re not going to want to leave. It’s just so much fun!
How I Store My Essential Oils
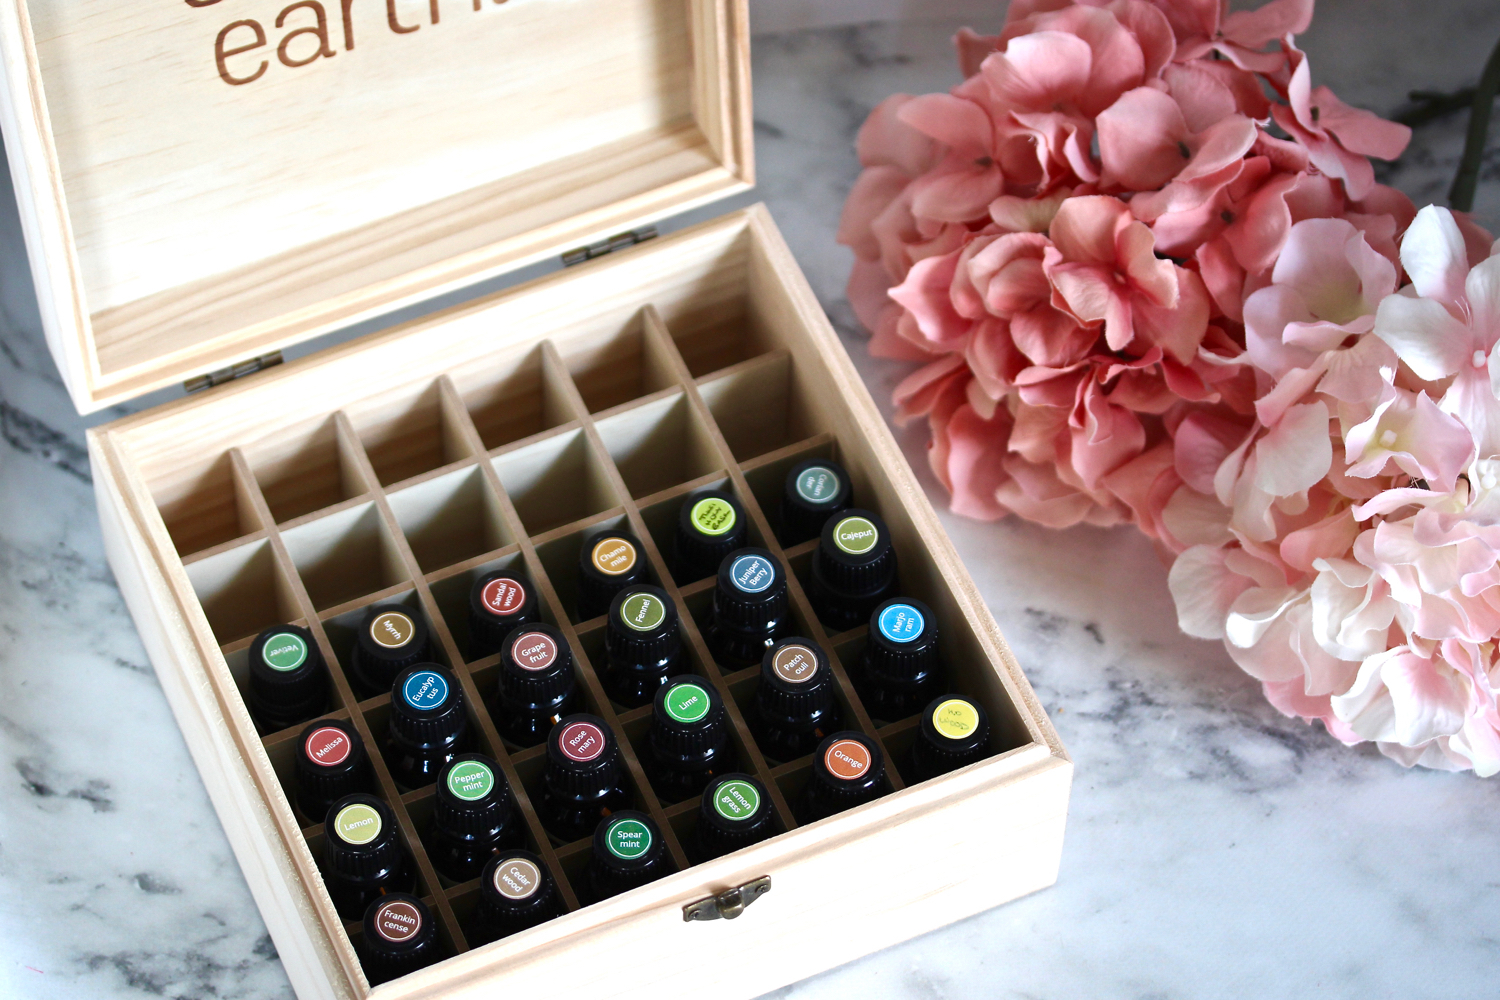
If you’re wondering how I store my essential oil collection, make sure you check out this post, How To Store Your Essential Oils.
What are you most excited to see in this month’s box? What are your favorite ways to use your essential oils?